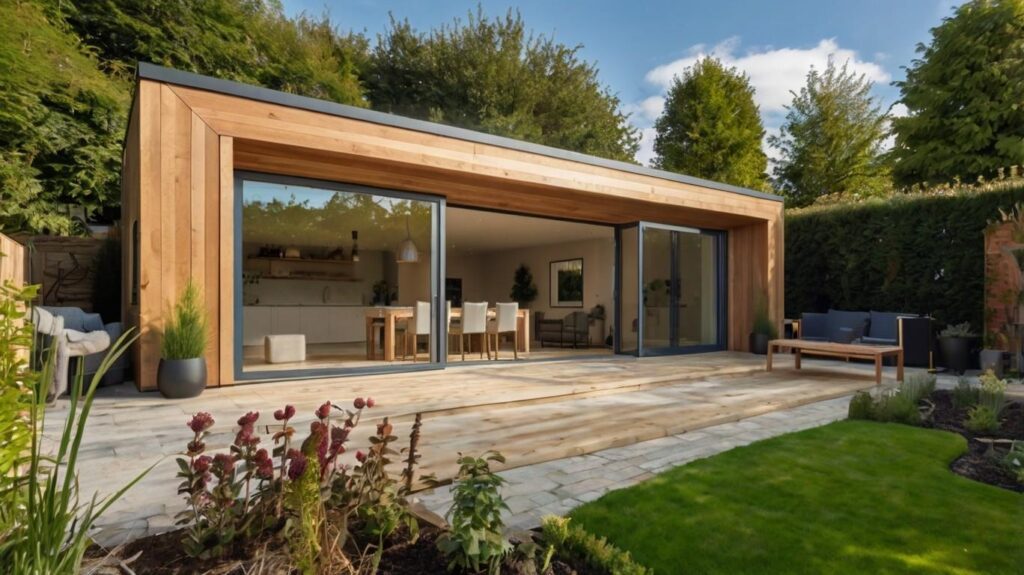
Top 5 DIY Conservatory Styles: Features, Prices, and Home Value Impact
Summary: DIY conservatory kits add space to your home affordably. They come in various styles and materials. Plan carefully and follow building rules. Consider location and insulation. Think about how you’ll use the space year-round. Building it yourself saves money but requires time and skills. Weigh DIY against hiring professionals. This guide will help you make informed decisions about your conservatory project.
Want to add space to your home? DIY conservatory kits might be the solution. These kits let you build a sunroom at a lower cost. They bring the outdoors inside your house. A conservatory adds value and enjoyment to your home. It creates a bright, versatile space for relaxation or hobbies. Before you start, there’s a lot to learn. This guide covers everything about DIY conservatory kits. We’ll explain how to choose the right style and follow building rules. You’ll learn about materials, installation, and maintenance. By the end, you’ll be ready to start your conservatory project.
Why Should You Listen to Us?
Our UK-based team helped over 1M homeowners save up to 40% on home improvement quotes since 2006. By using our free no-obligation quote comparison service, you will receive the most competitive quotes from vetted and accredited local companies.
What Are DIY Conservatory Kits?
DIY conservatory kits are pre-made parts for building a sunroom. You assemble them without professional help. Kits include all necessary parts: frame, roof, windows, and fittings. They’re designed for easy assembly by homeowners. DIY conservatory Kits come with detailed instructions and often include tools. They’re a popular choice for adding living space without full construction.
Types of DIY Conservatory Kits
- Lean-to conservatories work well in small spaces and with low roofs. They have a simple, sloping roof that leans against your house. This style is often the most affordable and easiest to install.
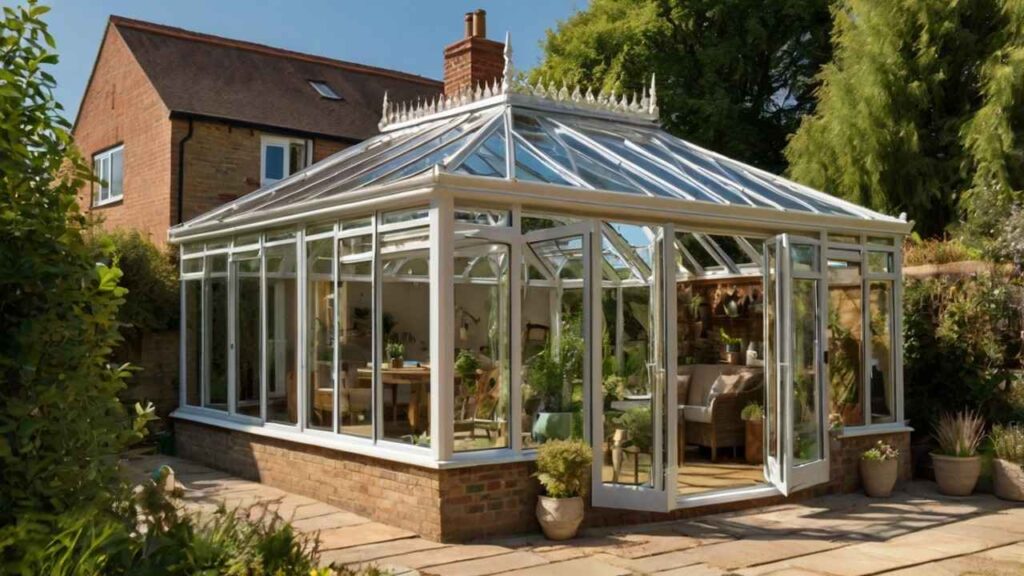
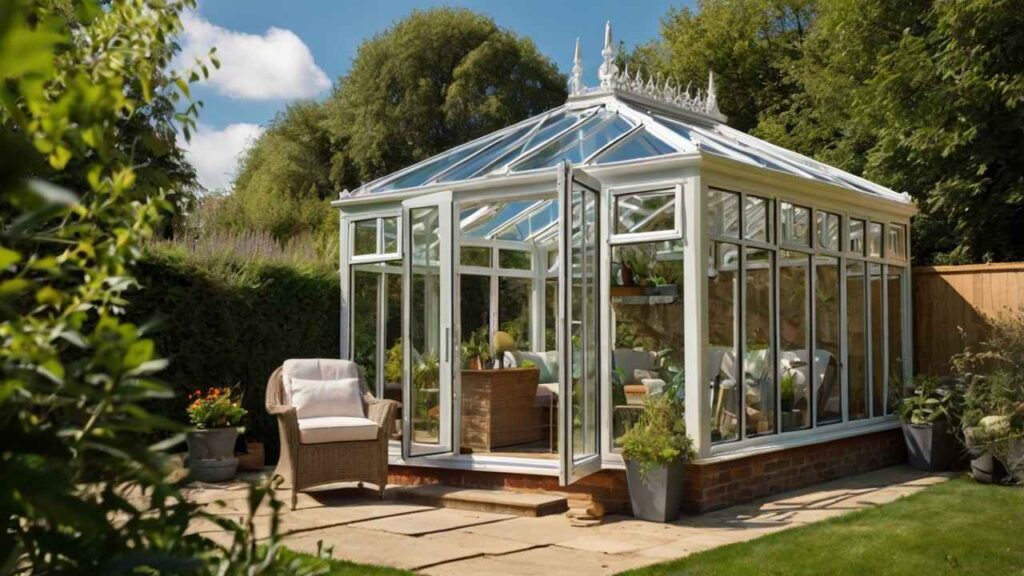
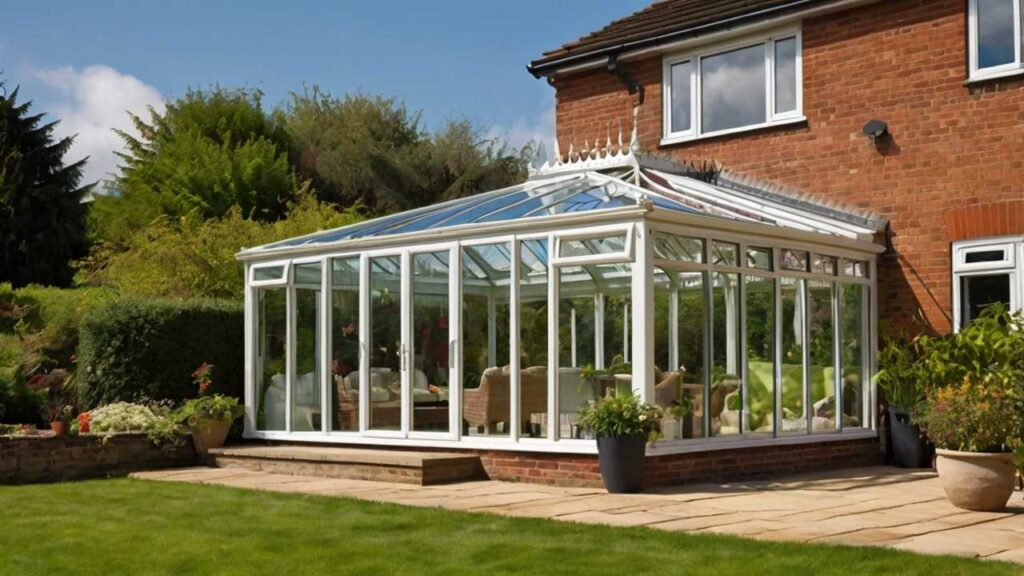
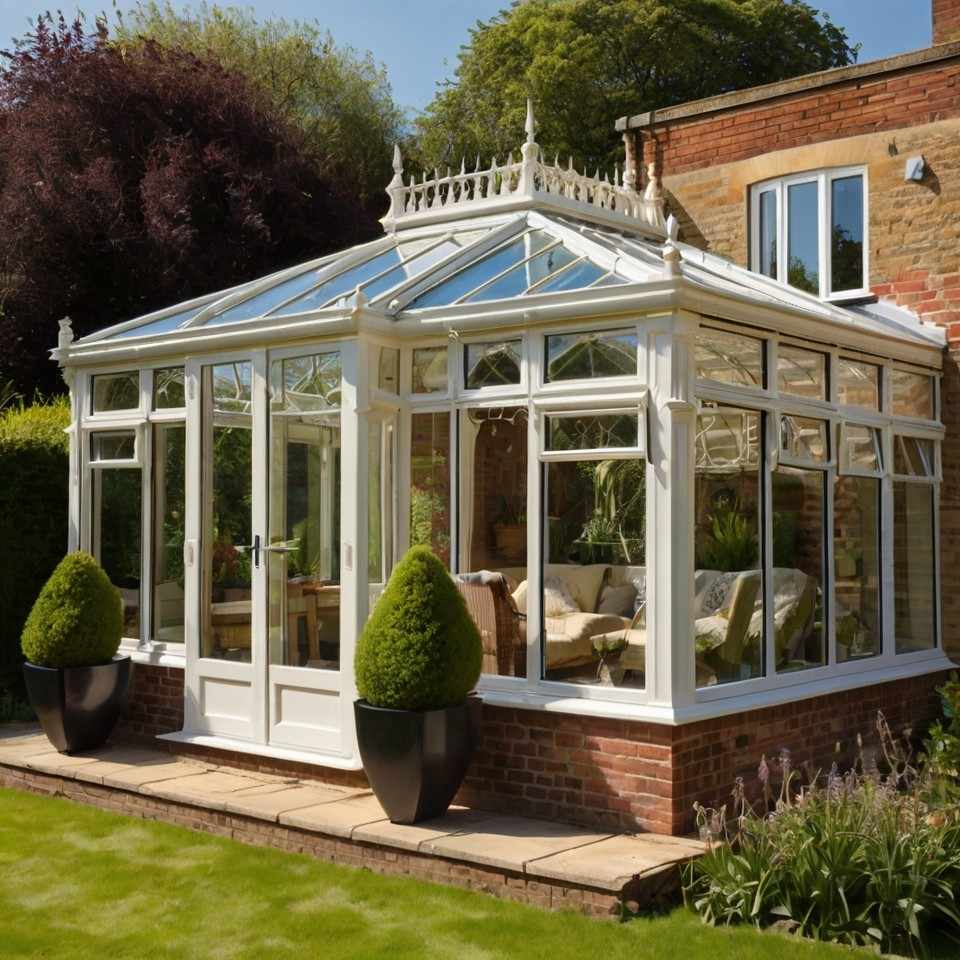
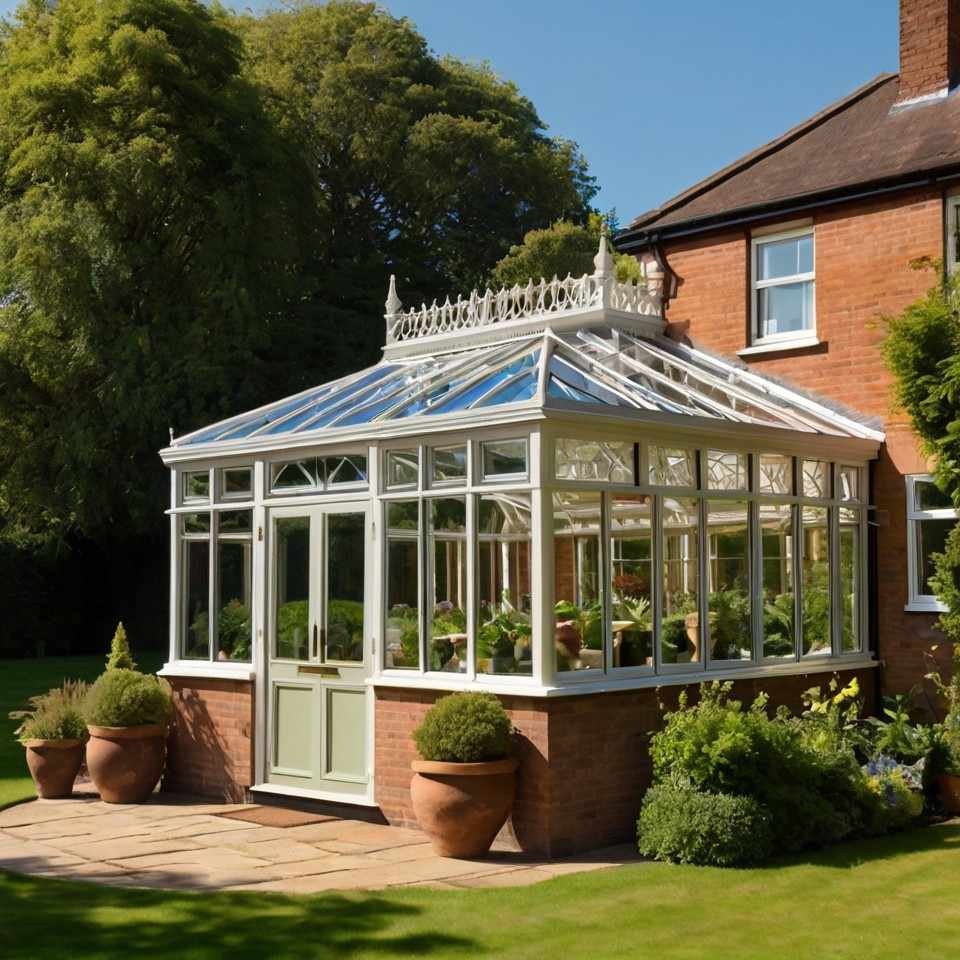
- Victorian conservatories have a rounded front, adding classic style. They feature a pitched roof and ornate details. This style suits traditional homes and creates an elegant atmosphere.
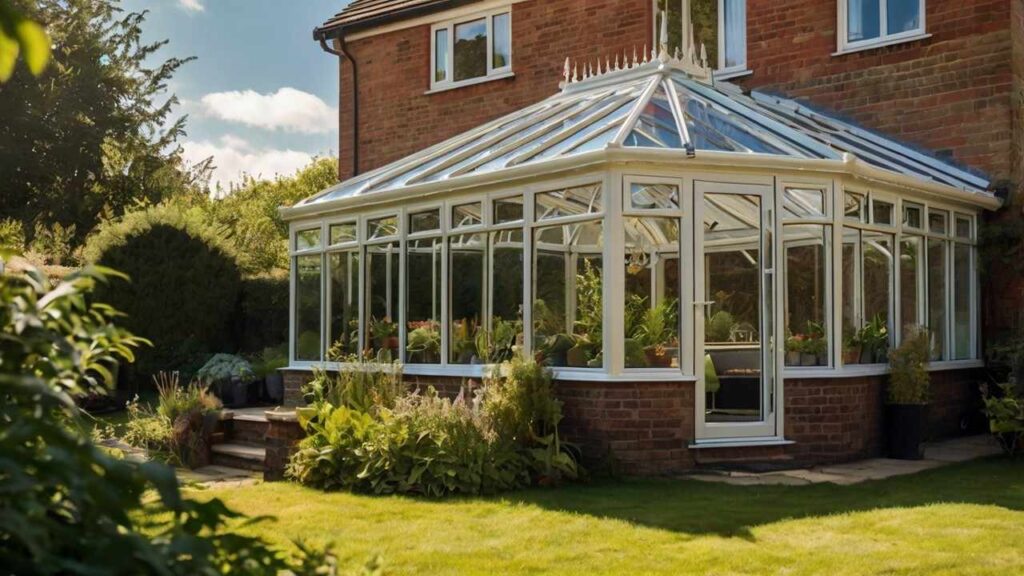
- Edwardian conservatories are square or rectangular, maximising floor space. They have a flat front and a pitched roof. This style offers a clean, modern look and practical space.
- P-shaped conservatories combine styles, offering versatile space. They blend a lean-to with a Victorian or Edwardian style. This creates two distinct areas, ideal for multiple uses.
- Gable-front conservatories have a high, sloping roof. The front stays upright, creating a sense of height. This style lets in lots of light and suits both modern and traditional homes.
For more detailed information on conservatory styles, visit the Homebuilding & Renovating guide to conservatory designs.
Benefits of Choosing a DIY Conservatory Kit
Cost-Effectiveness
DIY conservatory kits cost less because you build it yourself. No installation fees. You can save up to 50% compared to professional installation. The exact savings depend on the kit size and complexity.
Customization Options
Choose features to match your preferences. Select your preferred style, size, and color. Pick from various door and window options. Add features like blinds or underfloor heating. Customise the interior to suit your needs.
Sense of Achievement
Building your own conservatory is rewarding. You’ll gain new skills and knowledge. The finished project becomes a source of pride. You can tell guests, “I built this myself.”
Flexible Timeline
Work at your own pace. No need to accommodate contractors’ schedules. Spread the work over weekends or evenings. Take breaks when needed without rushing.
Thoroughly Vetted Professionals
Every supplier in our network goes through a strict vetting process, including credit checks and accreditation verification.
Planning Your DIY Conservatory Project
Assessing Your Space
Measure your space accurately. Choose the right kit size. Consider the conservatory’s purpose. A dining area needs more space than a reading nook. Allow room for furniture and movement.
Consider sun exposure. It affects the conservatory’s temperature. South-facing conservatories get more sun. They might need extra ventilation or shading. North-facing ones might need better insulation.
Think about the view from your conservatory. Position it to make the most of your garden or landscape. Consider privacy from neighbours and the street.
Legal Considerations
Check local rules. Most conservatories don’t need special permission. In the UK, they often fall under “permitted development.” But there are size and location limits.
Some areas require building permits, especially for large conservatories. Check with your local council or planning department. Get written confirmation if possible. Ignoring rules can lead to fines or forced removal.
For detailed information on UK building regulations for conservatories, consult the Planning Portal’s conservatory guide.
Consider the impact on neighbours. Discuss your plans with them. This can prevent disputes later. Your conservatory shouldn’t overshadow their property or invade privacy.
Choosing the Right DIY Conservatory Kit
Material Options
uPVC is low-maintenance and affordable. It comes in various colours and wood-effect finishes. uPVC resists weathering and doesn’t need painting. It’s a popular choice for its durability and value.
Aluminium is strong and sleek, ideal for modern designs. It allows for thinner frames and larger glass areas. Aluminium is lightweight yet sturdy. It’s often more expensive than uPVC but very long-lasting.
Timber looks traditional and insulates well but needs more care. It offers a natural, warm appearance. Hardwoods like oak or mahogany are durable but costly. Softwoods are more affordable but require regular maintenance.
Glazing Choices
Different window types offer varying insulation and noise reduction. Double glazing is standard. It provides good insulation and soundproofing. Triple glazing offers better performance but costs more.
Self-cleaning glass reduces maintenance. It has a special coating that breaks down dirt. Rain then washes the dirt away. This is useful for hard-to-reach roof panels.
Consider safety glass for lower panels. This reduces the risk of injury if broken. You can also choose tinted glass to reduce glare and heat.
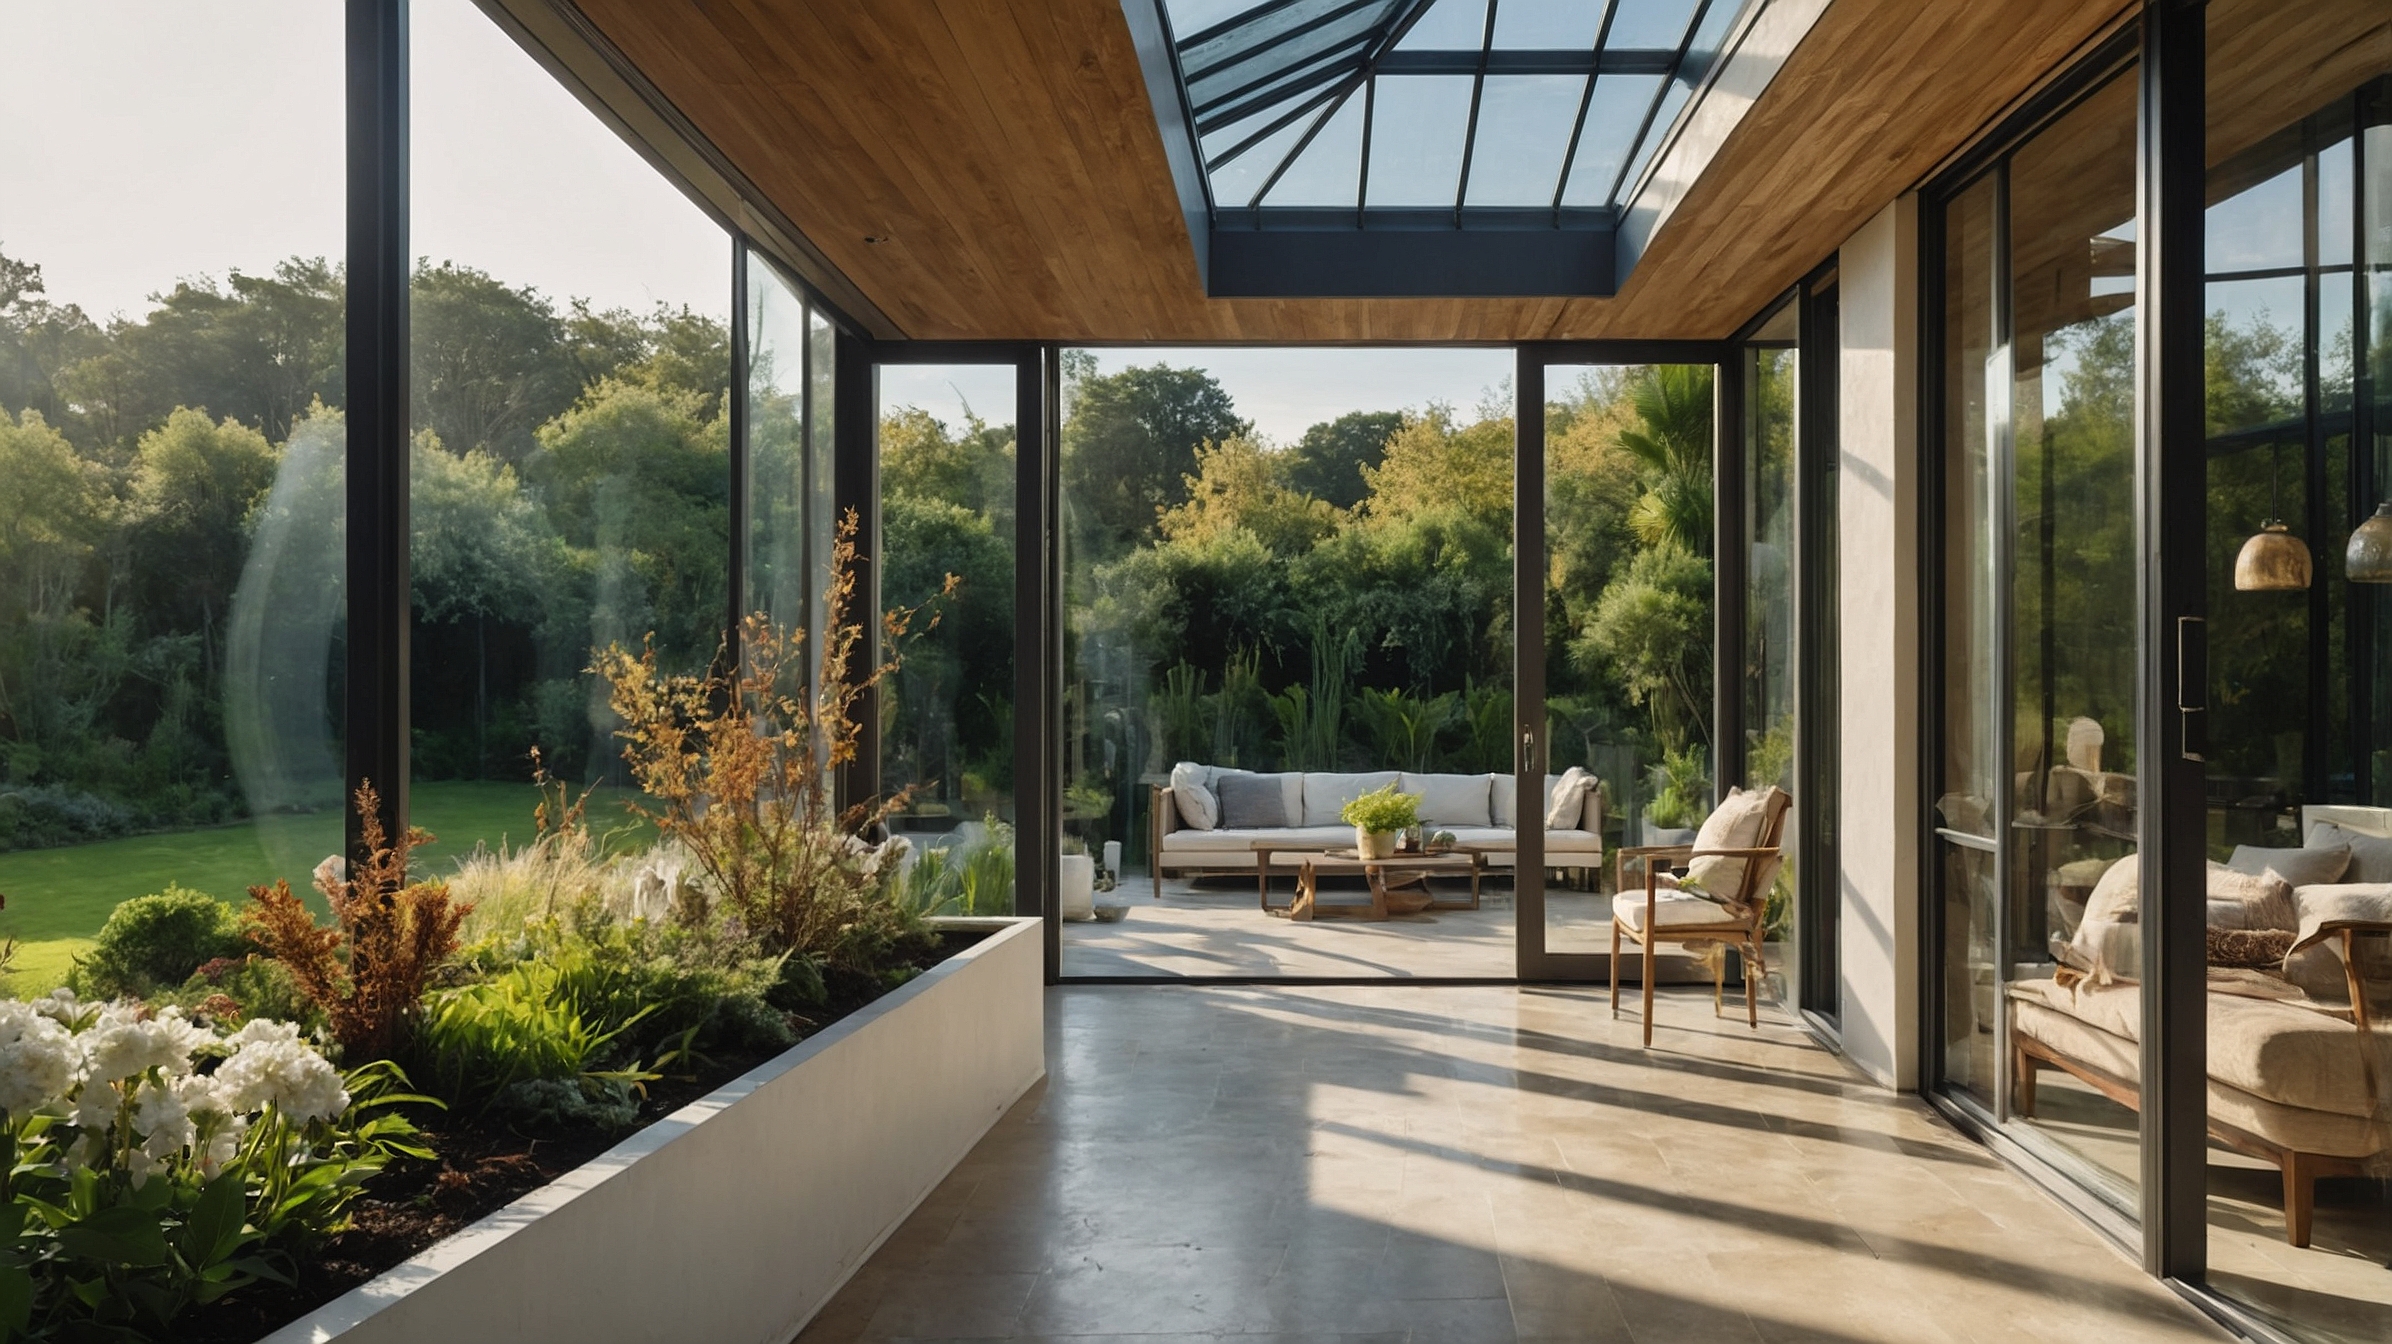
To understand more about energy-efficient glazing options, check out the Energy Saving Trust’s guide to windows. lantern roofs are growing in popularity, especially in high-end homes and larger conservatories.
Essential Components of a DIY Conservatory Kit
Base and Flooring
A strong base ensures stability. Options include a concrete slab or a raised timber floor. The base must be level and able to support the structure. It should also provide good drainage.
Flooring choices include tiles, wood, or carpet. Consider the room’s use and your home’s style. Ensure the flooring can withstand temperature changes and sunlight.
Frame and Structure
The frame is the conservatory’s skeleton. Choose one that fits your needs. It must be strong enough to support the roof and glazing. Frames should be thermally efficient to prevent heat loss.
Roof System
Roof materials affect light and heat retention. Glass roofs let in more light but can lead to overheating. Polycarbonate roofs are lighter and more affordable. They offer good insulation but less transparency.
Some DIY conservatory kits offer solid roof options. These provide better insulation and a more room-like feel. They’re good for year-round use but reduce natural light.
Doors and Windows
Consider safety, airflow, and ease of use. French doors offer a classic look and wide opening. Sliding doors save space and provide a modern appearance. Bi-fold doors open fully, blending indoor and outdoor spaces.
Choose windows that open for ventilation. Top-opening windows work well for roof ventilation. Side-opening windows are easier to clean from inside.
Accredited Professionals, thoroughly vetted through reference and credit checks. Registered with self-certification schemes, guaranteeing high standards of workmanship.
Preparing for Installation
Tools and Equipment Needed
Gather all necessary tools before starting. Basic tools include a spirit level, screwdriver, and tape measure. Power tools like a drill and circular saw are often needed. Some DIY conservatory kits include specialised tools.
Use safety gear: gloves, safety glasses, and sturdy shoes. A hard hat is advisable when working on the conservatory roof. Have a first aid kit on hand.
Site Preparation
Clear and level the construction area. Remove plants, rocks, and debris. Ensure the ground slopes away from your house for drainage.
Prepare the ground or lay concrete as instructed. This might involve digging foundations or creating a level base. Follow the kit’s specifications closely. Proper preparation prevents future problems.
Step-by-Step Installation Guide
Laying the Foundation
Follow instructions for a sturdy base. Ensure it’s perfectly level. Use a damp proof course to prevent moisture issues. Allow concrete to cure fully before building.
Assembling the Frame
Ensure each part is level and secure. Start with the wall frames. Use temporary braces to hold them in place. Install the roof frame next. Check for square and level at each stage.
Installing the Roof
Proper roof installation prevents leaks and regulates temperature. Follow the sequence in your instructions. Start from the bottom and work up. Ensure all seals and flashings are correctly placed.
Fitting Doors and Windows
Ensure proper fit for smooth operation and draft prevention. Install frames first, then add glazing. Check for square and plumb. Adjust hinges and locks for smooth operation.
Final Touches and Finishing
Add trim, sealant, and optional features like blinds or heating. Caulk all joints to prevent drafts and leaks. Install guttering and downpipes. Add interior finishes like skirting boards or coving.
For detailed DIY tips and tutorials, visit Conservatory Land’s conservatory building guide.
Common Challenges and How to Overcome Them
Dealing with Uneven Ground
Level the ground for a straight conservatory. Use a laser level for accuracy. You might need to dig out high spots or fill low areas. In extreme cases, consider a split-level design.
Weather Considerations During Installation
Plan for good weather. Protect work during unexpected rain. Have tarpaulins ready to cover materials. Avoid working in high winds, especially when handling large panels.
Troubleshooting Fit Issues
Learn to address common assembly problems. Parts not fitting might need gentle persuasion. Don’t force components. Double-check measurements and instructions. Contact the supplier if parts are damaged or missing.
Save Up to 40% on Your Project
Focus on competitive pricing could save up to 40% and these savings might allow you to choose higher-quality materials or add extra features.
Maintaining Your DIY Conservatory
Regular Cleaning and Upkeep
Clean regularly to maintain appearance and longevity. Wash frames and glass with mild soap and water. Clean gutters and check seals annually. Lubricate door and window mechanisms.
Seasonal Maintenance Tasks
Check and fix issues each season. In spring, look for winter damage. Clean and repair gutters in autumn. Check heating systems before winter. Ensure good ventilation in summer.
Enhancing Your Conservatory
Heating and Cooling Solutions
Install systems for year-round comfort. Underfloor heating works well in conservatories. Consider a portable air conditioner for summer. Ceiling fans can improve air circulation.
Lighting and Electrical Considerations
Plan lighting and outlet placement. Ensure safe electrical work. Include both task and ambient lighting. Consider LED options for energy efficiency. Install enough outlets for your needs.
Furnishing and Decorating Your New Space
Choose furniture and decor that suit your style. Use materials that resist fading from sunlight. Consider multi-functional furniture for flexibility. Add plants to enhance the indoor-outdoor feel.
Pros and Cons of DIY vs. Professional Installation
Advantages of the DIY Approach
- Cost savings
- Flexible work schedule
- Personal satisfaction
- Learn new skills
- Customise as you build
Potential Drawbacks to Consider
- Time-intensive
- Requires building skills
- May lack professional guarantees
- Risk of mistakes
- Need to source tools
Final Thoughts: Building your own conservatory is challenging but rewarding. Good planning and the right DIY conservatory kit create a valuable home addition. Research thoroughly and check local rules before starting. Be realistic about your DIY skills. Ask for help if needed. A well-built conservatory adds light, space, and value to your home.
DIY conservatory kits offer many options. Create a reading nook, plant room, or indoor-outdoor space. Your new room can serve as a dining area, home office, or play space. The possibilities are endless. Start and check information on planning permission and gather your tools. Soon you’ll have a new conservatory you built yourself. Enjoy the process and the result of your hard work.
How long does it take to build a DIY conservatory?
The time varies depending on size and complexity. A small, simple conservatory might take a weekend. Larger or more complex designs could take 1-2 weeks of dedicated work. Proper planning reduces build time.
Do I need planning permission for a DIY conservatory?
In many cases, conservatories fall under “permitted development” and don’t need permission. However, there are size and location restrictions. Always check with your local planning authority before starting your project.
How much can I save with a DIY conservatory kit compared to professional installation?
DIY conservatory kits can save you 30-50% compared to professional installation. Savings depend on the kit’s size and complexity. Remember to factor in tool costs if you don’t already own them.
What’s the best flooring for a conservatory?
Durable, moisture-resistant options work best. Tiles are popular for easy cleaning and temperature regulation. Laminate or vinyl can mimic wood at a lower cost. Consider underfloor heating for year-round comfort.
How do I prevent my conservatory from overheating in summer?
Use blinds or curtains to block direct sunlight. Install roof vents or opening windows for airflow. Consider tinted or solar control glass. Ceiling fans can help circulate air and create a cooling effect.
Can I build a DIY conservatory if I have no construction experience?
Yes, many DIY conservatory kits are designed for beginners. They come with detailed instructions and pre-cut parts. However, basic DIY skills and some tools are helpful. Don’t hesitate to ask for help with trickier steps.
What’s the most energy-efficient type of conservatory?
A well-insulated design with high-quality double or triple glazing is most efficient. Solid roof conservatories retain heat better in winter. Choose thermally efficient frames and consider low-E glass for better insulation.
How do I maintain my DIY conservatory?
Regular cleaning is key. Wash frames and glass with mild soap. Check and clean gutters annually. Lubricate hinges and locks. Inspect seals and replace if damaged. Address any issues promptly to prevent bigger problems.
Can I install a DIY conservatory on an existing patio?
It’s possible if the patio is level, stable, and meets depth requirements for foundations. Have a professional assess the patio’s suitability. You may need to reinforce or modify the existing structure.
What’s the average lifespan of a DIY conservatory?
With proper maintenance, a DIY conservatory kit can last 20-30 years. uPVC frames typically last 20-25 years, while aluminium can exceed 30 years. Regular upkeep and addressing issues promptly can extend its lifespan.
UK-Based Support Team
Our knowledgeable, UK-based support team is familiar with local markets, regulations, and trends, so you’ll always get relevant and current advice.
All our suppliers are members of one or more consumer protection groups below.

Simply Fill in Your Details, and Receive Competitive Quotes from Accredited Companies Tailored to Your Project!
When you request a quote through our website, we may receive a small commission from our partners at no extra cost to you. Reaching out to us means tapping into a wealth of experience from home improvements experts who know the British market inside out.
Unparalleled market insights, a network of skilled professionals vetted, accredited and reference – credit checked who can handle projects of all sizes. Knowledgeable, UK-based team will ensure a smooth, informed experience from start to finish.
To send us your marketing and other service offers, please use the following email: offers@comparison.market


